

Kubernetes Provider with Minikube and VS Code Browser
Purpose
This quickstart sets up a small Kubernetes cluster that stands in for an on-premise one, then configures a Kubernetes provider.
Install VirtualBox
Recommended resources for this walkthrough
For this walkthrough with VirtualBox and Ubuntu Desktop, use these resource recommendations. They are not vendor minimum requirements.
| Item | Recommendation |
|---|---|
| CPU | dual core CPU |
| RAM | 16GB (the walkthrough below allocates 8GB to the guest VM, so the host needs headroom on top of that) |
| Storage | 30GB |
| Network Connectivity | access to public internet |
Download VirtualBox
Download and install VirtualBox on your machine.
Create an Ubuntu 22.04 virtual machine
Download the Ubuntu Desktop 22.04 ISO
This walkthrough needs an x86-64 host. Download ubuntu-22.04.x-desktop-amd64.iso from Ubuntu 22.04.
Create the virtual machine
In VirtualBox, go to 'Machine' > 'New...' to open the new virtual machine dialog.
New virtual machine dialog
Step 1 - Name and operating system
| Input | Suggested Value |
|---|---|
| Name | ubuntu-desktop-22.04 (name used through this example) |
| Folder | default value is suitable in most cases |
| ISO Image | browse to the path of the downloaded ubuntu 22.04 ISO |
| Skip unattended installation | ticked (the installer then sets up the sudo group) |
Select 'Next'
Step 2 - Hardware
| Input | Suggested Value |
|---|---|
| Name | ubuntu-desktop-22.04 (name used through this example) |
| Base Memory | 8192 MB (minimum recommended) |
| Processors | 2 CPU (minimum recommended) |
Select 'Next'
Step 3 - Virtual Hard Disk
| Input | Suggested Value |
|---|---|
| Name | ubuntu-desktop-22.04 (name used through this example) |
| Create a new hard disk now | 30 GB (minimum recommended) |
Select 'Next'
Step 4 - Summary
Review the summary and click 'Finish' to create the VM.
Start installation
To start the installation, select the VM 'ubuntu-desktop-22.04' and click 'Start'.
VirtualBox powers up the VM and starts the Ubuntu installer.
Step 1 - Installer mode
Select 'Try/Install Ubuntu'
Step 2 - Install
Select Language and Install Ubuntu
Step 3 - Keyboard layout
Select your keyboard layout, then select 'Continue'.
Step 4 - Update and other software
| Input | Suggested Value |
|---|---|
| Name | ubuntu-desktop-22.04 (name used through this example) |
| Normal or Minimal Installation | Minimal Installation |
| Download updates while installing Ubuntu | yes |
| Install third party software for graphics and WI-FI hardware and additional media formats | yes. This adds closed-source drivers and software that Ubuntu does not include. |
Step 5 - Installation type
Select 'Erase disk and install Ubuntu', then click 'Install Now'. This erases the VM's virtual disk, not the host computer's disk.
When asked to write the changes to disks, select 'Continue'
Step 6 - Where are you?
Select your location, click 'Continue'
Step 7 - Who are you?
| Input | Suggested value |
|---|---|
| Your name | dev |
| Your computer's name | devsys |
| Pick a username | dev |
| Choose password | your password |
| Confirm your password | your password |
Select 'Continue'
Install Minikube on Ubuntu 22.04
Install the packages for Minikube and VS Code:
sudo apt update
sudo apt install git vim gpg wget -y
Install VSCODE
Follow the VS Code Linux setup guide.
Install Minikube
Clone Sander van Vugt's CKAD repository from the Installing Minikube on Ubuntu lesson:
git clone https://github.com/sandervanvugt/ckad.git
cd ./ckad
./minikube-docker-setup.sh
Create startup script
cd ~
touch minikube-start.sh
sudo chmod u+x minikube-start.sh
Add the following contents to minikube-start.sh:
#!/bin/bash

minikube start --driver=docker --cni=calico
Start Minikube from your home directory:
~/minikube-start.shRun the script again after each VM shutdown or reboot.
Test your install
Check the install:
kubectl get allExpected output:
kubectl get all
NAME                 TYPE        CLUSTER-IP   EXTERNAL-IP   PORT(S)   AGE
service/kubernetes   ClusterIP   10.96.0.1        <none>        443/TCP   4d14h
Install Devsy
Download and install the Linux DEB package, as described in Install Devsy:
cd ~/
wget https://github.com/devsy-org/devsy/releases/latest/download/Devsy_linux_amd64.deb
sudo dpkg -i Devsy_linux_amd64.deb
Test the Devsy install
Start Devsy:
devsyConfigure Minikube for the provider
Before you configure the Kubernetes provider, create a persistent volume for the devcontainer and find a kubeconfig.
Create a Kubernetes persistent volume for devcontainers
See the Kubernetes persistent volume docs.
mkdir ~/devsys
cd ~/devsys
touch devsy-pv.yml
vim devsy-pv.yml # or your preferred text editor
Edit devsy-pv.yml and save it:
kind: PersistentVolume
apiVersion: v1
metadata:
  name: devsy-pv
  labels:
    type: devsy
spec:
  capacity:
    storage: 1Gi
  accessModes:
    - ReadWriteOnce
  hostPath:
    path: "/mnt/data/devsy"
The hostPath directory must exist inside the Minikube node, not on your host machine. Create it with minikube ssh:
minikube ssh -- sudo mkdir -p /mnt/data/devsyCreate the persistent volume:
kubectl create -f ~/devsys/devsy-pv.ymlConfirm that the volume exists:
kubectl get pv
NAME                                       CAPACITY   ACCESS MODES   RECLAIM POLICY   STATUS      CLAIM   STORAGECLASS   REASON   AGE
devsy-pv                                  1Gi        RWO            Retain           Available                                   12d
Locate your kubeconfig
List the ~/.kube directory:
ls ~/.kube
cache  completion.bash.inc  config
The config file in ~/.kube is the kubeconfig for the Kubernetes provider. Print its absolute path and use the output when configuring the provider:
echo ~/.kube/configIn production, give the kubeconfig a specific context, namespace, and user. Install kubectl on the machine where the Devsy client runs, because the Kubernetes provider runs kubectl with the local kubeconfig to reach a remote cluster.
Identify your namespaces
The Kubernetes provider needs a namespace. This example uses default.
kubectl get ns
NAME              STATUS   AGE
default           Active   12d
kube-node-lease   Active   12d
kube-public       Active   12d
kube-system       Active   12d
Add Provider
Go to Providers > + Add and select the Kubernetes provider.
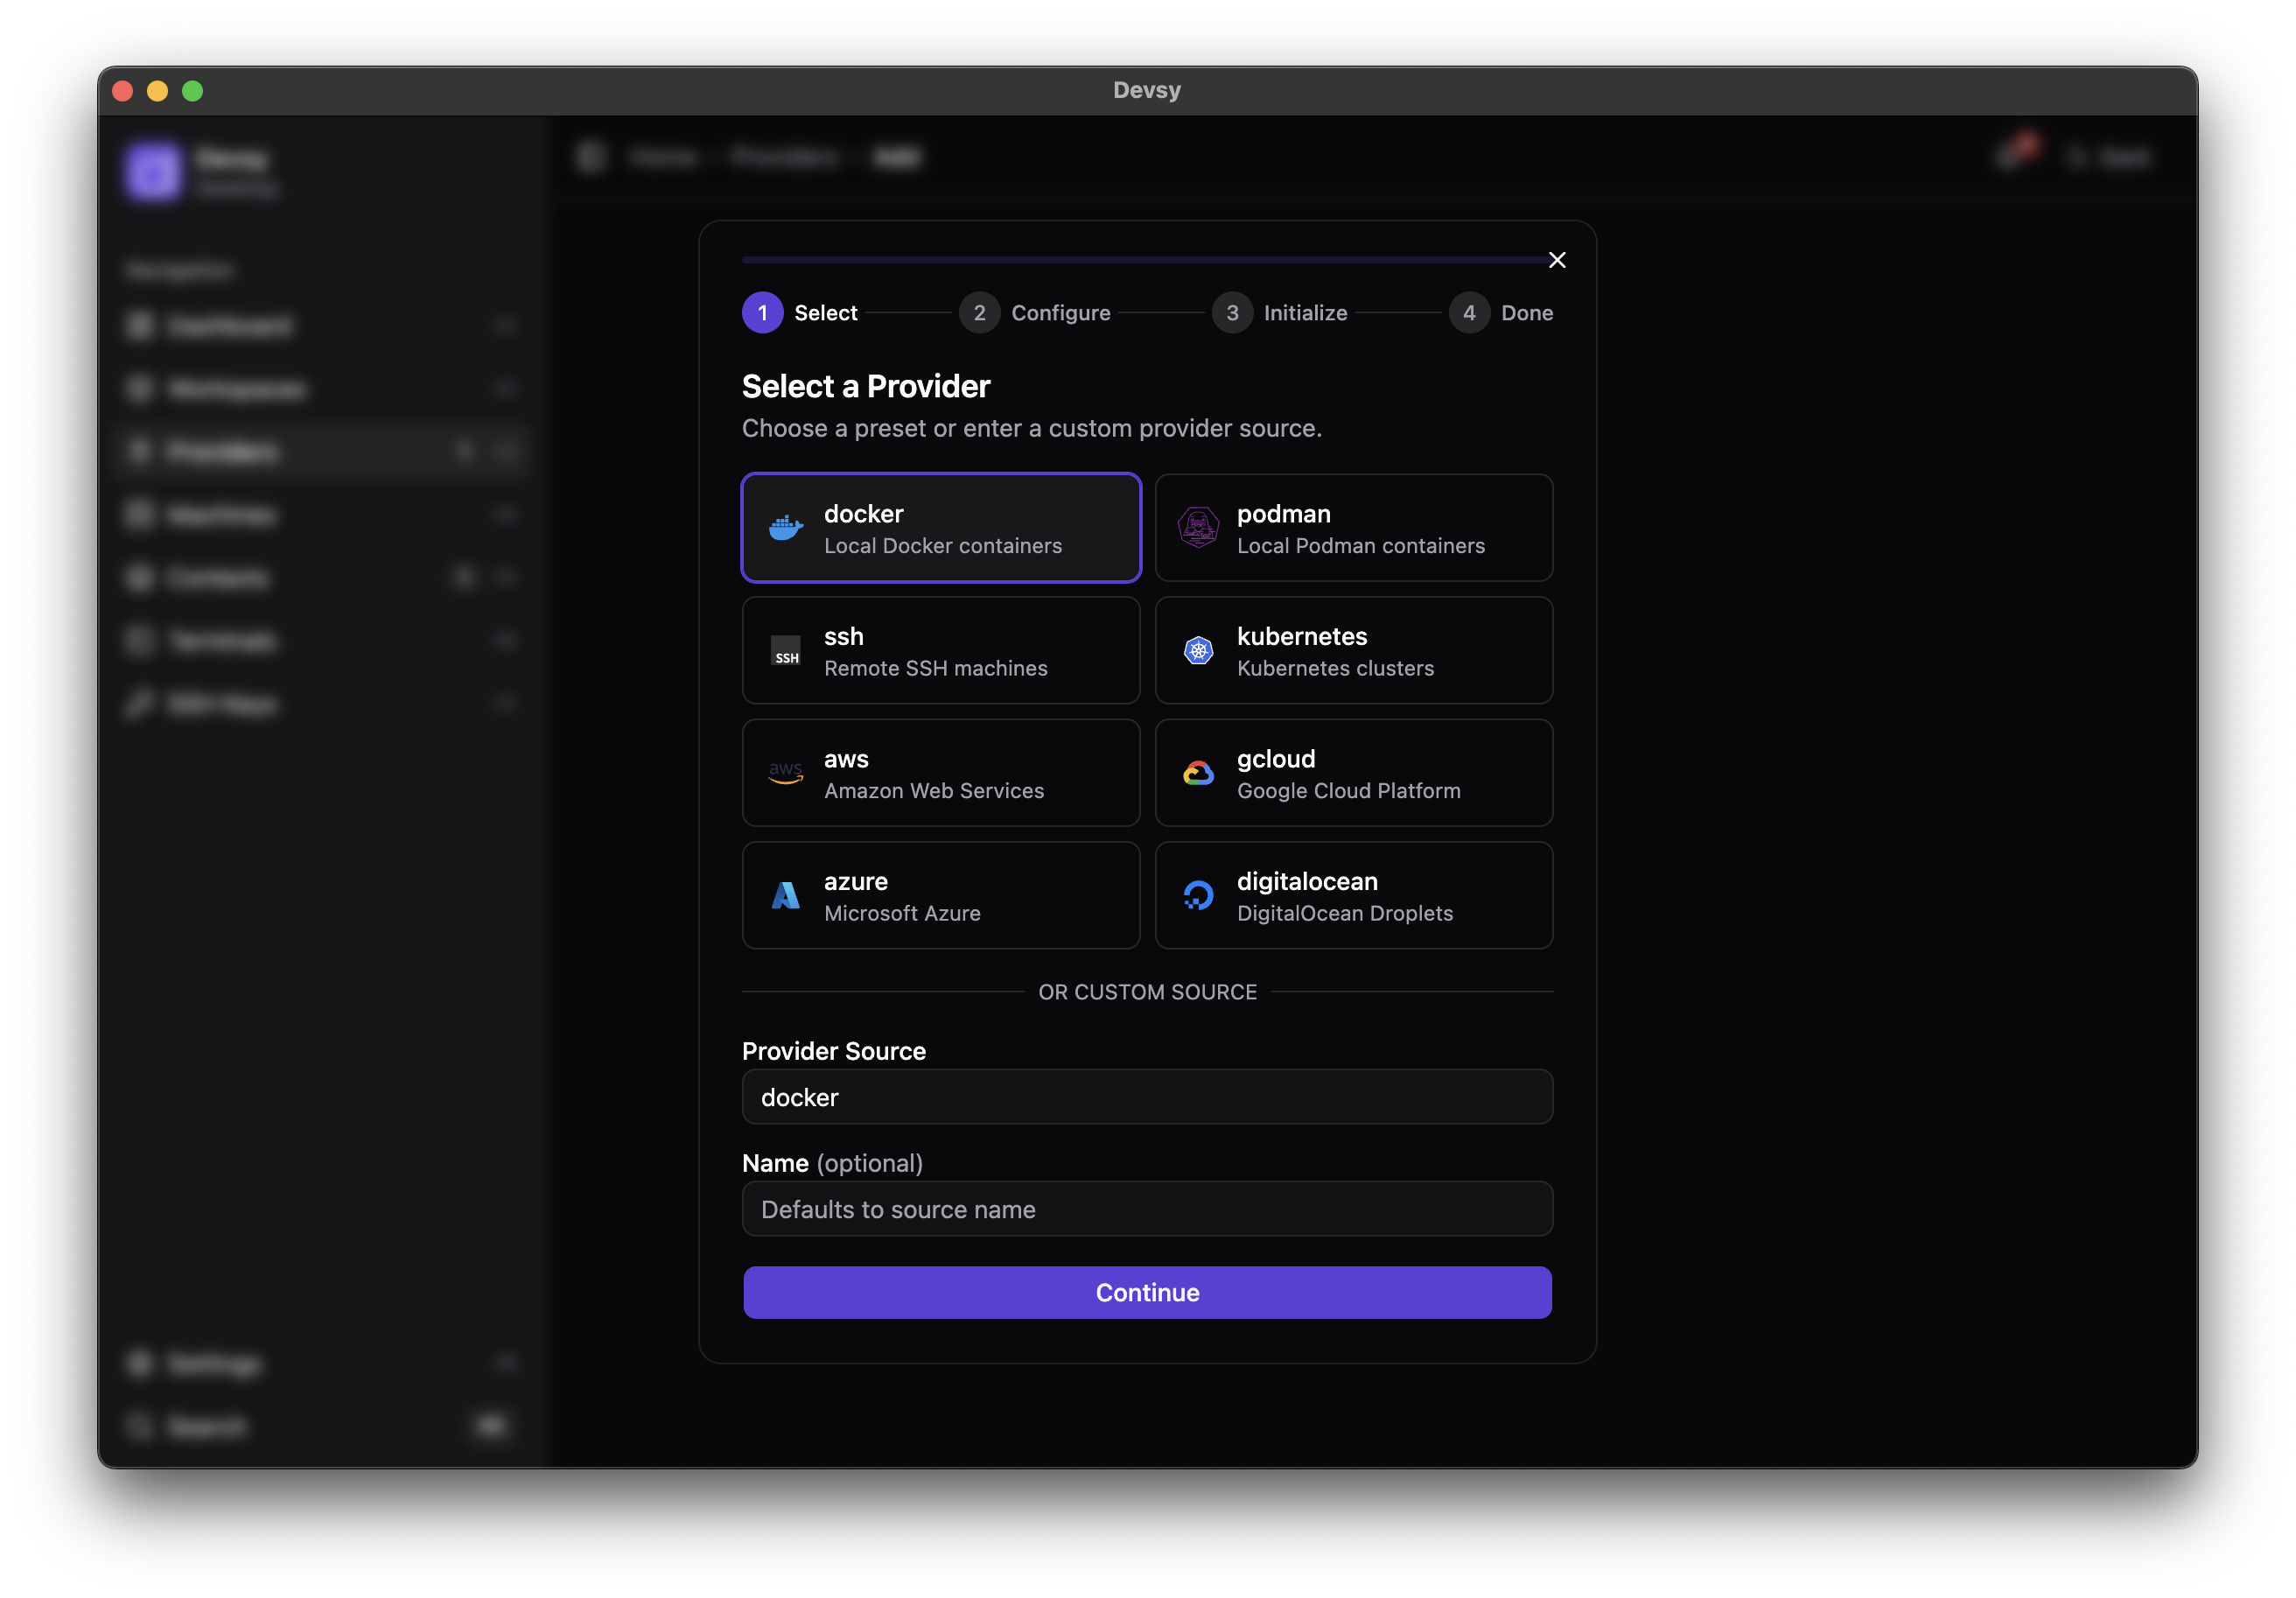
Configure the Kubernetes Provider
| Setting | Value |
|---|---|
| Kubernetes Namespace | default |
| Disk Size | 1Gi |
| Kubernetes Config | The absolute path printed by echo ~/.kube/config |
Select Add Provider
Add a Workspace
Start a workspace with VS Code Browser
Go to Workspaces > + Create. Enter your project URL or pick one of the quickstart examples. Under Default IDE, select VS Code Browser.
Click Create Workspace.
Devsy shows the workspace starting in a new window. When the workspace is ready, VS Code opens connected to the devcontainer.